Picture this: you’re halfway through a hectic day, your phone buzzes with a frantic text from a friend who’s “dead serious” about trying a new snack that’s supposedly the *ultimate* energy booster. You’re craving something sweet, but you don’t want the guilt of a greasy, calorie‑laden treat. In a flash of culinary genius, you pull out a bunch of ripe bananas, a jar of peanut butter, and a handful of oats that have been sitting in your pantry since last year. You decide to make a batch of No‑Bake Banana Cinnamon Energy, a recipe that feels like a hug in a bowl and a promise of sustained, sweet power.
The kitchen smells like cinnamon and ripe fruit, the sound of the blender whirring is music to your ears, and the texture of the bananas in your hand feels soft and almost liquid. The moment you drop the first spoonful onto parchment, a gentle sizzle sings against the surface, and you can almost taste the caramelization of the honey before it even hits the plate. This isn’t just another snack; it’s a sensory experience that starts with a visual swirl of golden oats and ends with a crunch that’s almost like biting into a warm, buttery cookie. The flavors mingle in your mouth like a well‑tuned orchestra, each note clear, each bite balanced, and the finish is a lingering hint of cinnamon that leaves you wanting more.
Why does this version stand out from every other recipe you’ve tried? Because it’s built on a foundation of simplicity that doesn’t sacrifice depth. The bananas give it natural sweetness and a creamy texture that’s almost velvety, while the oats add a hearty, chewy bite that keeps you full longer. Peanut butter brings a rich, nutty undertone and a dose of protein that turns a sweet treat into a real snack. And the secret weapon? A dash of cinnamon that adds warmth and a subtle spice that lifts the whole flavor profile. I dare you to taste this and not go back for seconds—trust me, the first bite will set the bar high for all future energy bites.
If you’ve ever struggled with bland, over‑cooked banana snacks, you’re not alone. I’ve had my fair share of banana‑oat mishaps: one time I over‑mixed the batter and it turned into a sticky, unappetizing paste; another time I forgot the cinnamon and ended up with a flat, boring flavor. But this recipe fixes those mistakes with precise timing, the right balance of ingredients, and a few clever hacks that turn a simple mix into a crowd‑pleaser. Picture yourself pulling this out of the fridge, the whole kitchen smelling incredible, and handing a bite to a friend who’s skeptical—watch their eyes widen as they realize they’ve just discovered the best version of a banana snack ever. Stay with me here—this is worth it.
What Makes This Version Stand Out
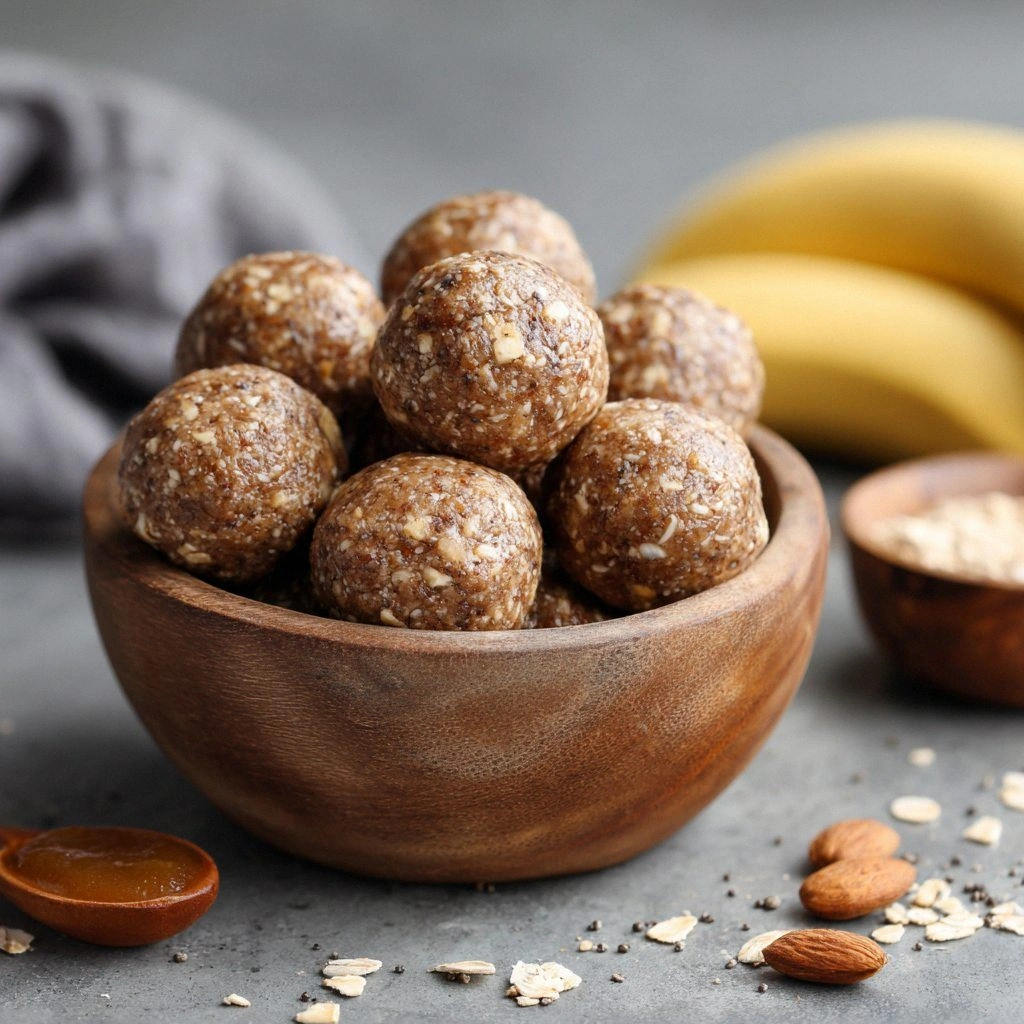
- Flavor: The combination of ripe bananas, honey, and cinnamon creates a complex sweetness that feels both familiar and adventurous. Each bite is a burst of natural sugars balanced by the earthy depth of cinnamon.
- Texture: The oats give a satisfying chew, while the peanut butter keeps the mixture cohesive and creamy. The result is a snack that feels substantial without being heavy.
- Nutrition: Packed with protein from peanut butter and fiber from oats, this snack keeps you energized for hours. No added sugars or artificial ingredients—just wholesome, natural goodness.
- Convenience: No‑bake means no oven, no heat, no fuss. You can whip up a batch in under an hour and store it for days.
- Versatility: The base recipe is a canvas for endless variations—add nuts, dried fruit, or chocolate chips to suit your taste.
- Make‑Ahead: Prepare the mixture a day ahead, refrigerate, and it’s ready to grab and go whenever you need a quick energy boost.
Inside the Ingredient List
The Flavor Base
At the heart of every great No‑Bake Banana Cinnamon Energy lie the simple, wholesome staples: ripe bananas, honey, and a generous pinch of cinnamon. The bananas act as the natural sweetener, providing a creamy texture that binds everything together. Honey adds depth and a subtle floral note, while cinnamon brings warmth and a hint of spice that elevates the overall profile. Together, these three ingredients form the soul of the snack.
The Texture Crew
Rolled oats are the unsung hero that gives the mixture its hearty chew. They absorb the liquids, swell, and create a satisfying bite that keeps you full. Peanut butter, on the other hand, adds a rich, nutty flavor and a creamy mouthfeel that makes the mixture easy to scoop and eat. The combination of oats and peanut butter provides a balanced texture—chewy yet smooth.
The Unexpected Star
A splash of vanilla extract may seem like a minor detail, but it rounds off the sweetness and adds a subtle aroma that makes the snack feel more luxurious. Salt, even in a pinch, is essential for unlocking the flavors and preventing the mixture from tasting flat. The small amount of sea salt also adds a slight crunch that contrasts nicely with the softness of the oats.
The Final Flourish
Dark chocolate chips are an optional but highly recommended addition. They bring a bittersweet counterpoint to the sweet banana base and add a pleasant snap when you bite into them. If you’re watching calories, you can skip the chocolate or replace it with a handful of chopped nuts for a different texture. Either way, the final flourish is what turns a simple mixture into a memorable snack.
Everything's prepped? Good. Let's get into the real action.
The Method — Step by Step
- Step 1: Peel the bananas and place them in a large bowl. Using a fork, mash them until you achieve a smooth, slightly chunky consistency. This texture is key—too smooth and the mixture will be watery; too chunky and it will feel uneven. If you’re feeling adventurous, add a pinch of salt to the bananas now to help balance the sweetness.
- Step 2: In a medium saucepan, combine the rolled oats, peanut butter, honey, cinnamon, vanilla, and sea salt. Stir the dry ingredients together first, then add the liquid components. This ensures an even distribution of spices and prevents clumping. Keep the heat at medium so the mixture warms without scorching.
- Step 3: Heat the mixture over medium, stirring constantly. As it warms, it will thicken and begin to pull away from the sides of the pan. The aroma will shift from raw to toasted, signaling that the oats have absorbed the liquids. This is the trickiest step—if you stop stirring, the mixture can burn. Keep your eye on the edges; when they start pulling away, you’re almost ready.
- Step 4: Remove the pan from heat and let it cool for about five minutes. The mixture will continue to thicken as it cools, so don’t rush this part. A good rule of thumb is to touch the surface—if it’s still hot to the touch, give it a bit more time. Cooling also helps the flavors meld together.
- Step 5: Fold the mashed bananas into the oat mixture until fully integrated. The bananas will help bind everything together and add that silky, buttery texture. If you notice any lumps, give it another gentle stir. The mixture should be thick but still scoopable.
- Step 6: Stir in the chocolate chips. They will melt slightly in the warm mixture, creating pockets of chocolate that burst with flavor. If you prefer a less sweet version, you can reduce the amount of chocolate or omit it entirely. The chips also add a pleasing visual contrast to the golden batter.
- Step 7: Place the scoops onto the lined sheet and refrigerate for 30 minutes or until firm. The cold sets the mixture, giving it a satisfying bite. If you’re short on time, pop them in the freezer for 10 minutes—just watch for over‑freezing which can make them hard to bite into.
- Step 8: If you’d like bite‑sized energy bites, roll the chilled mixture into small balls after it has set. This step is optional but perfect for on‑the‑go snacking. Keep them in an airtight container in the fridge for up to a week.
- Step 9: Serve immediately or store in the refrigerator. When you’re ready to eat, give them a quick shake; they’ll be crisp on the outside and chewy inside. If you’re craving a warmer snack, microwave for 10–15 seconds—just be careful not to melt the chocolate.
- Step 10: Enjoy the sweet, nutty, cinnamon‑kissed energy that fuels your day. Share with friends, or keep a stash for post‑workout refueling. Remember, this snack is as versatile as it is delicious—feel free to tweak it to your liking.
That’s it—you did it. But hold on, I’ve got a few more tricks that will take this to another level.
Insider Tricks for Flawless Results
The Temperature Rule Nobody Follows
Most people heat the oat mixture until it just starts to thicken, but the real secret is to let it reach a gentle simmer for an extra minute. This extra time allows the oats to fully absorb the liquids and develop a deeper, toasted flavor. If you’re in a hurry, you can skip the extra minute, but you’ll lose that subtle nuttiness that makes the snack stand out.
Why Your Nose Knows Best
Before you add the bananas, sniff the honey and vanilla. If the honey smells floral and the vanilla has a rich, creamy aroma, you’re in the right zone. A faint or burnt smell could mean the honey has gone bad or the vanilla is old, which will affect the overall taste. Trust your nose—it’s a better judge of quality than any label.
The 5‑Minute Rest That Changes Everything
After removing the mixture from heat, let it sit for exactly five minutes before folding in the bananas. This brief rest allows the oats to settle and prevents the mixture from becoming too runny when you add the bananas. It also gives the spices a chance to bloom, resulting in a more aromatic final product.
Use a Non‑Stick Pan
A non‑stick pan reduces the risk of sticking and makes cleanup a breeze. If you’re using a stainless‑steel pan, add a splash of coconut oil to keep the mixture from adhering. The extra oil also adds a subtle tropical note that pairs wonderfully with the cinnamon.
Keep the Chocolate Warm
If you’re adding chocolate chips, keep them near the bottom of the pan while the mixture is still warm. This helps them melt slightly, creating pockets of chocolate that are smooth and gooey. If you add them too early, they’ll harden before the mixture sets, leading to uneven distribution.
Creative Twists and Variations
This recipe is a playground. Here are some of my favorite ways to switch things up:
Nutty Power Pack
Swap peanut butter for almond butter and add chopped almonds for extra crunch. The nutty flavor deepens, and the almonds provide a satisfying snap. This version is perfect for those who love a stronger nut profile.
Berry Burst
Fold in a handful of dried cranberries or raisins before chilling. The dried fruit adds a chewy texture and a burst of tartness that balances the sweetness. Great for a quick, fruity snack.
Chocolate‑Infused Energy
Increase the chocolate chips to a full cup and add a tablespoon of cocoa powder. This creates a rich, chocolatey bite that’s still healthy. The cocoa adds antioxidants and deepens the flavor.
Spicy Cinnamon
Add a pinch of cayenne pepper or a dash of smoked paprika to the oat mixture. The heat will give the snack a surprising kick that wakes up your taste buds. A subtle spice can make a familiar flavor feel new.
Maple Magic
Replace honey with pure maple syrup and add a splash of vanilla extract. The maple gives a deeper, caramelized sweetness that pairs beautifully with cinnamon. This version feels cozy and comforting.
Vegan Version
Use a plant‑based peanut butter, coconut oil instead of butter, and a dairy‑free chocolate chip. The texture remains creamy, and the flavor profile stays intact. This is the go‑to snack for vegans or anyone avoiding dairy.
Storing and Bringing It Back to Life
Fridge Storage
Store the cooled mixture or bite‑sized balls in an airtight container in the refrigerator. They will stay fresh for up to a week, maintaining their chewy texture and aromatic cinnamon. Keep them away from strong‑smelling foods to avoid flavor transfer.
Freezer Friendly
For longer storage, place the chilled bites in a freezer‑safe zip‑lock bag. They’ll keep for up to three months. When you’re ready to eat, let them thaw at room temperature for 10–15 minutes or microwave for a few seconds.
Best Reheating Method
If your bites have become a little firm, give them a quick heat to bring back the softness. Microwave on 30‑second intervals, stirring in between, until they’re warm and pliable. Adding a tiny splash of water before reheating creates steam that helps them steam back to perfection.