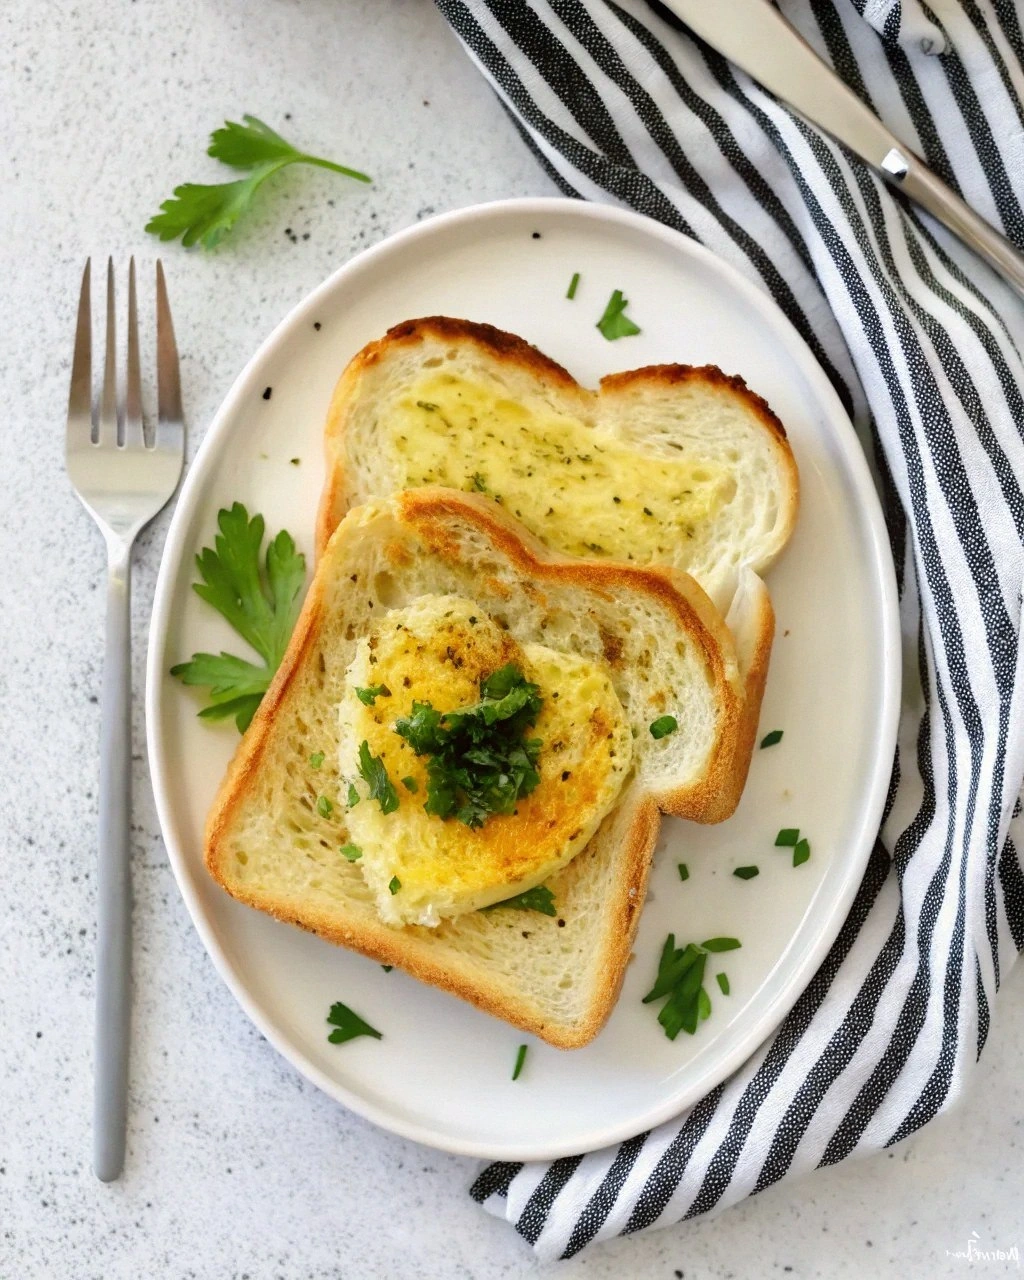
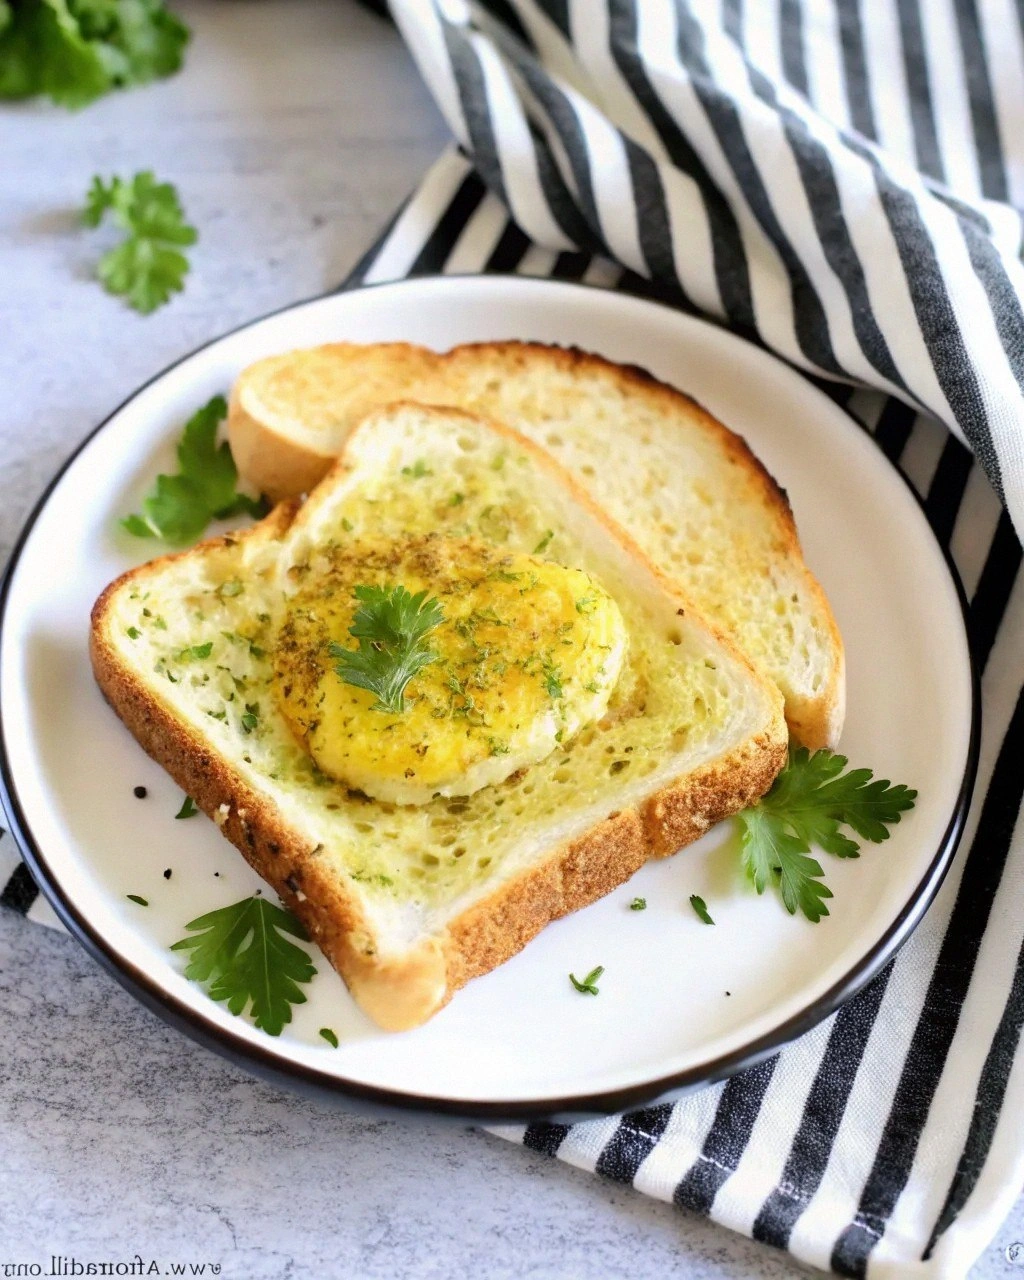
I burnt the toast. Again. Valentine's morning, still in pajamas, trying to impress my partner with something—anything—that said “I planned ahead.” The eggs sat there, sunny-side up and utterly boring, mocking me from the plate. In a fit of desperation I grabbed a cookie cutter, slapped it on the griddle, and cracked an egg inside. What emerged was a heart-shaped egg so charming it could sell greeting cards, and the burnt toast was instantly forgiven. That single accident became the breakfast ritual I now get asked to make every single weekend, even when February is long gone.
Picture this: a glossy, tender white hugging a molten yolk that breaks like liquid gold over sourdough, the edges of the egg forming a perfect Valentine. That sizzle when the egg hits the hot metal cutter? Absolute perfection. The aroma drifts through the kitchen—butter, gentle caramelization, and the faintest whisper of pepper—while sleepy voices ask, “Is that for me?” This is hands down the best version you'll ever make at home, because it takes zero artistic talent, three minutes of actual work, and leaves your stove cleaner than it started.
Most recipes get this completely wrong. They tell you to oil a cutter, hope the egg stays put, and end up with whites leaking everywhere like a busted pillow. Here's what actually works: a searing-hot cutter that seals the egg on contact, a timing trick that keeps the yolk runny even when you’ve walked away to pour coffee, and a tiny splash of water that steams the top so you never flip. If you've ever struggled with rubbery whites or yolks that break and run down the pan, you're not alone—and I've got the fix.
Stay with me here—this is worth it. We’re going to talk temperature, surface science, the one pan you already own, and the lazy-person garnish that makes everyone think you attended culinary school. By the end you’ll know how to batch-cook a dozen hearts for brunch without breaking a sweat, how to dye them naturally pink for extra drama, and how to turn the same trick into stars, dinosaurs, or whatever cookie cutters lurk in your drawer. Let me walk you through every single step—by the end, you'll wonder how you ever made it any other way.
What Makes This Version Stand Out
- Zero-Leak Seal: The cutter goes on the hot dry skillet first, so the egg white sets the moment it touches metal, creating a barrier that keeps the shape crisp and the pan spotless.
- One-Minute Steam Finish: A teaspoon of water and a lid turns your frying pan into a mini steamer, cooking the top whites without flipping, preserving that Instagram-ready yolk dome.
- Butter-Basted Edges: You swirl a dab of butter around the cutter in the last 30 seconds; it foams, browns, and lacquers the perimeter like a French omelet's fancy cousin.
- Color-Shift Magic: Add a single beet shaving or a pinch of turmeric to the water for a pastel pink or golden halo that tints only the surface—kid-approved, zero artificial dye.
- Make-Ahead Friendly: Cook, chill, and reheat for 30 seconds in hot broth; the shape holds and the yolk warms back to liquid while you assemble toast and avocados.
- Crowd-Pleasing Flexibility: Works with duck eggs for richer flavor, egg whites only for low-calorie, or even vegan "egg" mixtures if you swap in a silicone mold.
- Pantry Minimalism: All you need is eggs, butter, salt, and a $2 metal cutter—no specialty gadgets, no parchment, no failed Pinterest attempts wasting half the carton.
Alright, let's break down exactly what goes into this masterpiece...
Inside the Ingredient List
The Heart of the Matter
Large eggs are the Goldilocks size—big enough to fill a 3-inch cutter, small enough to cook through in two minutes. Farm-fresh eggs hold their shape better because the whites are tighter, but any supermarket egg works if it's within the expiration date. Room-temperature eggs slide cleanly from shell to cutter without shocking the metal, so pull them out ten minutes before cooking. Skip extra-large or jumbo; they overflow the mold and you'll end up trimming with a knife, defeating the whole no-fuss vibe.
The Non-Stick Insurance Policy
Butter beats oil here because the milk solids brown and add nutty aroma that screams "professional kitchen." You only need a whisper—half a teaspoon—just enough to gloss the cutter's edge after the whites have set. Clarified butter or ghee work if you're dairy-free, but you'll miss the toasty milk solids that perfume the air. Coconut oil tastes tropical and can clash with classic breakfast flavors, so save it for a Caribbean twist variation later.
The Seasoning Trinity
Flaky salt dissolves on contact, giving you little pops of salinity instead of a uniformly salty white. Fresh-cracked pepper looks dramatic and blooms in the heat, releasing citrusy top notes you never knew existed. A final pinch of smoked paprika on the yolk creates a sunset halo and subtle campfire aroma that makes grown adults close their eyes and sigh. Skip garlic powder or herbs; they'll burn in the hot cutter and turn bitter.
Optional Drama Enhancers
Beet peel shaved with a vegetable peeper bleeds a rosy watercolor across the surface when you add the steaming water. Turmeric stains the white gold and adds earthy warmth, but use a pinch—too much tastes like chalk. Chive blossoms scattered at the end look like confetti and give a delicate onion note without overpowering. Everything bagel seasoning stuck to the buttered edges gives a crunchy, garlicky crust that turns humble eggs into hipster brunch.
Everything's prepped? Good. Let's get into the real action...
The Method — Step by Step
- Place your empty non-stick or cast-iron skillet over medium heat for a full two minutes. You want it hot enough that a drop of water skitters like a tap dancer, but not so hot that the butter burns on contact. Lay your metal heart cutter in the center and let it heat until you can feel warmth radiating when you hover your hand two inches above—this is the moment of truth. The hot cutter is your insurance policy; any cooler and the egg white will seep underneath like a sneaky cat under a door.
- Crack one egg into a small bowl first. I know, I know—extra dish—but fishing out shell shards from a sizzling cutter is the kind of kitchen cardio nobody asked for. Hold the bowl an inch above the cutter and pour slowly, letting the white hit the metal edge and seal instantly. The yolk should perch proudly in the center like a golden sun. If a little white pokes outside, nudge it back with the tip of your spatula; the set whites are forgiving at this stage.
- Reduce the heat to low—this next part is pure magic. Pour a tablespoon of water onto the pan outside the cutter, then clap on a tight lid. The steam will rise, bounce off the lid, and gently cook the top of the egg without turning it opaque and rubbery. Don't walk away from the stove here; thirty seconds is plenty for runny, 60 seconds for gel-like, 90 seconds for hard-set. Your nose knows best—when you smell sweet, slightly nutty steam, you're done.
- Remove the lid, scoot a tiny knob of butter between the cutter and the pan. Tilt the skillet so the melting butter pools around the heart like a moat. As the milk solids brown, spoon the foam over the top of the egg for 15 seconds—this lacquers the surface and adds chef-level gloss. Slide a thin spatula under the cutter and lift both cutter and egg together; the heart should release cleanly with bronzed, lacy edges that shatter like thin ice when you bite.
- Transfer the egg to toast, season with your flaky salt, cracked pepper, and whatever flourish you fancy. Repeat with remaining eggs, wiping the cutter between rounds so old browned bits don't tattoo the next heart. If you're cooking for a crowd, park finished eggs on a warm plate covered loosely with foil—they'll stay velvety for 10 minutes while you brew more coffee. Serve with the confidence of someone who just turned a Tuesday breakfast into a love letter.
That's it—you did it. But hold on, I've got a few more tricks that'll take this to another level...
Insider Tricks for Flawless Results
The Temperature Rule Nobody Follows
Most home cooks crank the burner to high, thinking speed equals better. Wrong. Medium heat sets the perimeter without turning the base leathery, and the gentle steam finishes the top so the yolk stays shy of 158°F—the temperature where it sadly firms. If your pan is too cool the whites spread, too hot and they blister; aim for the sizzle that sounds like applause, not like fireworks. A friend tried skipping this step once—let's just say it didn't end well, and her dog got the rejects.
Why Your Nose Knows Best
When the aroma shifts from raw egg to sweet, almost marshmallow-like, the whites are perfectly set. If you smell browning butter but no sweetness, the yolk is already on its way to hard-cooked. Trust that olfactory alarm and yank the lid off immediately. Future pacing: picture yourself pulling this off the stove, the whole kitchen smelling like a French bakery at dawn, and your partner padding in, eyes still half shut, saying “something smells amazing.”
The 5-Minute Rest That Changes Everything
After cooking, let the egg rest off heat for two minutes. Proteins finish setting and the internal temp equalizes, so when you cut into it the yolk flows like warm caramel instead of rushing out like a broken dam. Rest on a wire rack if you want the bottom crisp, or on soft buttered toast if you like the underside to meld into the bread. I dare you to taste this and not go back for seconds—spoiler, I eat half the batch before anyone else gets to try it.
Creative Twists and Variations
This recipe is a playground. Here are some of my favorite ways to switch things up:
Spicy Valentine
Stir a drop of sriracha into the steaming water; the vapor carries a gentle heat that infuses the white with a blush-pink tint and a smoky kick. Top with cilantro leaves and a squeeze of lime for a breakfast that wakes you up faster than espresso. Kids will skip it, but your heat-seeking friends will hover like vultures.
Herbed Cloud
Whisk chopped dill and tarragon into the egg before pouring; the herbs suspend in the white like green confetti. The steam intensifies their aroma, turning an ordinary egg into spring on a fork. Serve atop rye with smoked salmon and suddenly you're in a Nordic café.
Cheesy Heartbreak
Slide a paper-thin slice of cheddar into the cutter after the white sets but before you add the lid. The steam melts the cheese so it hugs the yolk like a molten blanket. Break the center and you get a golden cheese pull worthy of slow-motion video.
Sweet Brunch Flip
Use the same technique but crack the egg into cinnamon-vanilla custard batter for French-toast style. The heart emerges tasting like crème brûlée edges with a runny center—drizzle with maple and watch brunch guests lose their minds.
Mini Hearts for Bento
Shrink the cutter to 1-inch and cook quail eggs; they finish in 20 seconds and fit inside a lunchbox. Stack on rice with nori faces for adorable critters that make coworkers jealous. I'll be honest—I ate half the batch before anyone else got to try it when I made these for a picnic.
Storing and Bringing It Back to Life
Fridge Storage
Slide cooked hearts into an airtight container, separating layers with parchment so they don't stick. They'll keep three days, but the yolk will firm up even when cold—plan to reheat gently. Add a tiny splash of water before reheating—it steams back to perfection in 45 seconds in a covered skillet or microwave at 50% power.
Freezer Friendly
Flash-freeze individual hearts on a tray, then bag them with wax paper between. They'll keep two months. Reheat from frozen in simmering broth for 90 seconds; the yolk thaws last, so it stays runny while the white warms through. Great for emergency breakfast sandwiches when you're racing to work.
Best Reheating Method
Skip the microwave if you want that runny yolk back—steam is your friend. Bring a skillet to medium, add 2 tablespoons water, nestle the cold heart inside, and cover for 60 seconds. The result tastes 90% as good as fresh, which beats a drive-thru any day.