Introduction
Picture this: you’re halfway through a late‑night snack run, the fridge is a barren wasteland, and the craving for something sweet, yet wholesome, is gnawing at you like a persistent mosquito. I was in that exact spot last week, scrolling through Pinterest, when a friend dared me to create a protein bar that was thick, chewy, and so vanilla‑laden that it could double as a dessert. I laughed, then rolled up my sleeves and dove into the pantry. The result? A bar that melts in your mouth, delivers a protein punch, and smells like a tropical vacation.
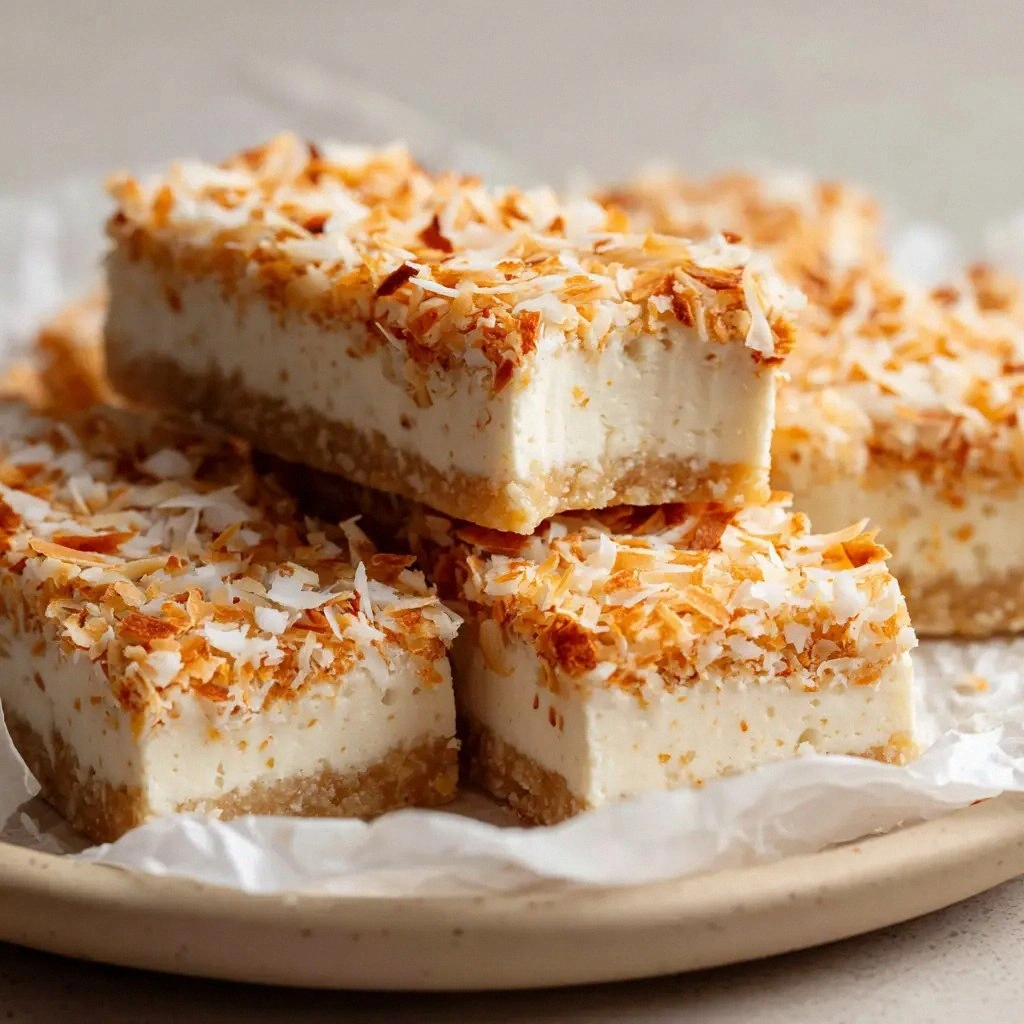
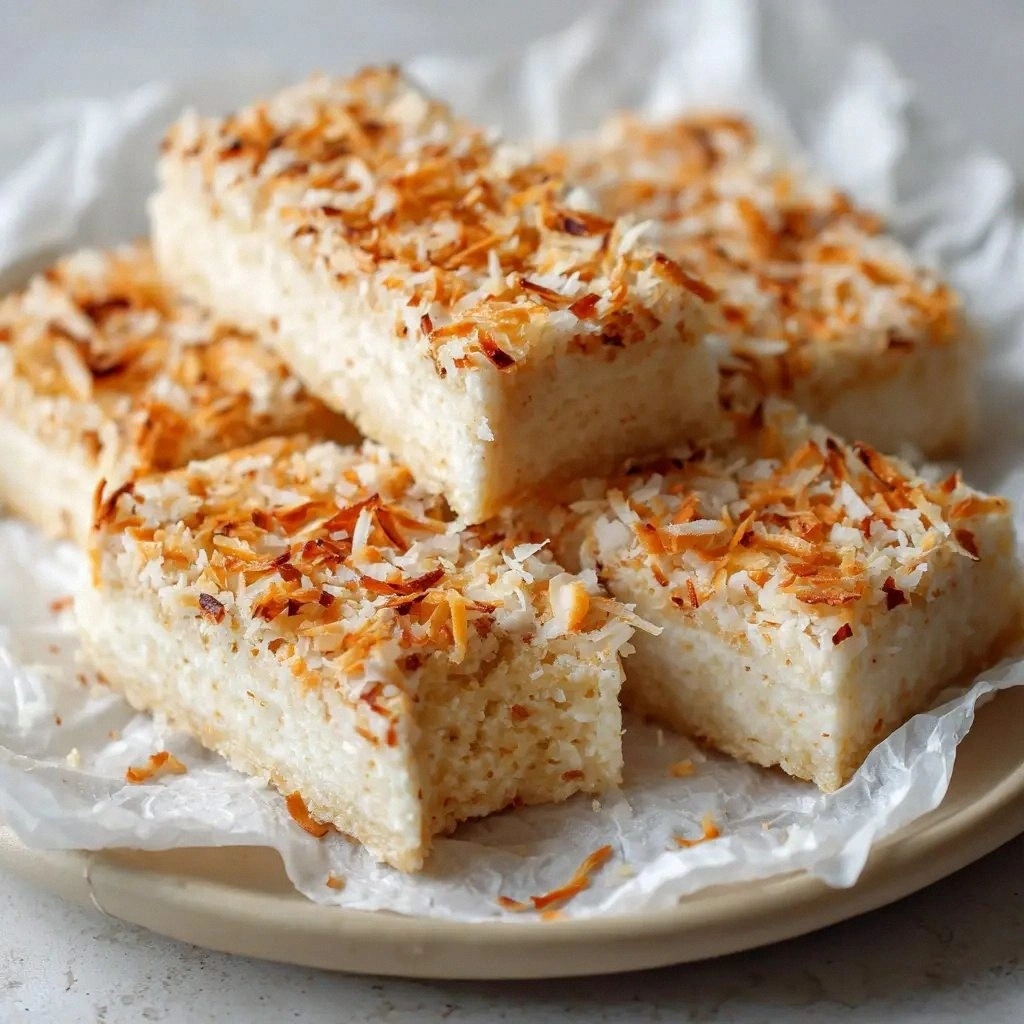
The kitchen was a symphony of sounds: the hiss of melted coconut oil, the gentle clink of a stainless steel spoon against a glass bowl, and the faint pop of a silicone mold as it set. The aroma was a heady blend of toasted coconut, nutty cashew, and vanilla that made the whole house feel like a bakery. I could almost taste the first bite—soft, slightly sticky, with a coconut crunch that gives way to a velvety protein core. It was so good, I almost didn’t share it. I’ll be honest—I ate half the batch before anyone else got to try it.
What makes this version stand out from every other protein bar recipe? It’s the marriage of texture and flavor: a chewy exterior that hugs your teeth, a moist interior that doesn’t feel like a dry protein cake, and a vanilla kick that’s unmistakable. Most recipes get this completely wrong, relying on dry ingredients or over‑cooking. Here, I keep everything moist without the need for an oven, using brown rice syrup and coconut oil to lock in that lusciousness. And the best part? It’s all plant‑based, yet the protein content is impressive, making it perfect for post‑workout recovery or a midday pick‑me‑up.
I’ll be sharing a technique that most people overlook: the secret to a perfectly chewy bar is the balance of wet to dry ingredients and the precise timing of when you stop stirring. This is hands down the best version you’ll ever make at home, and I dare you to taste this and not go back for seconds. Let me walk you through every single step—by the end, you’ll wonder how you ever made it any other way.
What Makes This Version Stand Out
- Texture: The combination of cashew butter and coconut oil creates a dense, chewy body that’s satisfying to bite into. The protein powder keeps it firm without becoming gritty.
- Flavor: Pure vanilla extract lifts the coconut, turning the bar into a tropical treat that feels indulgent yet healthy.
- Convenience: No baking required—just mix, press into a pan, and chill. Ideal for busy mornings or post‑gym snacking.
- Nutrition: Each bar packs about 20 grams of protein, 10 grams of healthy fat, and 20 grams of carbs—balanced for energy and recovery.
- Versatility: The recipe scales beautifully; you can make a single bar or a full batch of twelve.
- Make‑ahead: It stores well in the fridge for up to a week, and you can freeze it for longer preservation.
Alright, let's break down exactly what goes into this masterpiece. And now, for a quick kitchen hack that will save you time and keep your hands dry.
Inside the Ingredient List
The Flavor Base
The cashew butter and brown rice syrup are the heart of this bar. Cashew butter adds a creamy, nutty undertone that balances the sweetness of the syrup. If you skip the cashew butter, the texture becomes too dry and the flavor loses depth. For a dairy‑free twist, choose a brand of cashew butter that’s unflavored and unsweetened.
The Texture Crew
The melted coconut oil and protein powder are the duo that gives the bars their chewiness. Coconut oil solidifies at room temperature, creating a firm structure, while protein powder adds body without making the bars crumbly. If you can’t find brown rice syrup, coconut nectar is a great substitute, though it will slightly alter the flavor profile.
The Unexpected Star
Finely shredded unsweetened coconut and large coconut flakes bring both texture and a burst of natural sweetness. The shredded coconut keeps the bars moist, whereas the flakes add a satisfying crunch. If you prefer a milder coconut flavor, reduce the shredded coconut by a quarter cup.
The Final Flourish
A pinch of fine sea salt is essential—it enhances all the other flavors and cuts the sweetness just enough to keep the bars from feeling cloying. The vanilla extract is the secret weapon that lifts the entire bar, giving it a smooth, aromatic finish. If you’re allergic to vanilla, a drop of almond extract will work, though it changes the aroma.
Everything's prepped? Good. Let's get into the real action.
The Method — Step by Step
- In a medium saucepan, combine the cashew butter and brown rice syrup. Heat gently over low heat, stirring constantly until the mixture is smooth and glossy. This step is crucial; if you stir too vigorously, the mixture can split. When it starts to thicken, you’ll see a subtle sheen—this is the moment of truth.
- Add the melted coconut oil and vanilla extract to the pan. Stir until fully incorporated, ensuring there are no lumps. The mixture should feel silky to the touch. If it feels too thick, add a teaspoon of water to loosen it slightly.
- Remove the pan from heat and allow the mixture to cool for about five minutes. This cooling period prevents the protein powder from clumping when added. The aroma will intensify, giving you a preview of what’s to come.
- Whisk in the vanilla protein powder, shredded coconut, and sea salt. Mix until the batter is homogenous and the protein powder is fully dissolved. You should see a slight sheen again, indicating that the mixture has absorbed the dry ingredients.
- Fold in the large coconut flakes with a spatula, distributing them evenly. The flakes add a delightful crunch that contrasts the chewy center. Be gentle—over‑mixing can break the flakes.
- Line an 8x8‑inch square pan with parchment paper, leaving an inch of overhang on each side. Pour the batter into the pan, spreading it evenly with a spatula. Tap the pan gently on the counter to release any air bubbles.
- Place the pan in the refrigerator for 30 minutes. This chilling step allows the fats to set, giving the bars their firm structure. If you’re in a hurry, you can pop it in the freezer for 10 minutes, but watch out for over‑freezing.
- Remove the set batter from the fridge, lift it out of the pan using the parchment overhang, and place it on a cutting board. Slice into twelve equal bars using a sharp knife. Clean the knife between cuts to keep the edges crisp.
- Wrap each bar in parchment or wax paper and store them in an airtight container. They’ll keep at room temperature for up to 3 days, or refrigerate for up to a week. For longer storage, freeze the bars in a zip‑lock bag.
- When you’re ready to eat, let the bars sit at room temperature for a few minutes so they soften slightly. If you prefer them warm, microwave on low power for 10 seconds. This simple step brings back that freshly baked feel.
That's it—you did it! But hold on, I've got a few more tricks that'll take this to another level.
Insider Tricks for Flawless Results
The Temperature Rule Nobody Follows
Many people think you need to heat everything to a high temperature, but the key is keeping the mixture just warm enough to stay fluid. If the batter is too hot, the protein powder can clump; if it’s too cool, the coconut oil won’t set properly. Aim for a temperature between 120°F and 140°F when you combine the wet ingredients.
Why Your Nose Knows Best
The aroma of toasted coconut and vanilla is a reliable indicator of how close you are to perfection. If you notice a burnt scent, the mixture is over‑cooked. If it smells too raw, give it a minute more of gentle heat. Trust your nose; it’s your best friend in the kitchen.
The 5-Minute Rest That Changes Everything
After you mix the batter, let it rest for five minutes before adding the protein powder. This short pause allows the cashew butter to fully hydrate, preventing lumps. A friend once skipped this step and the bars turned out lumpy—let that be a lesson.
Use Parchment for Easy Release
Lining the pan with parchment paper not only prevents sticking but also makes slicing a breeze. The overhang helps you lift the whole slab out of the pan without tearing the bars. If you’re making a large batch, consider double‑lining the pan for extra protection.
Freeze for Freshness
Freezing the bars keeps them fresh for up to three months. Just wrap them tightly in plastic wrap and then place in a freezer bag. When you’re ready to enjoy, let them thaw at room temperature for 10 minutes.
Creative Twists and Variations
This recipe is a playground. Here are some of my favorite ways to switch things up:
Chocolate Coconut Crunch
Swap the vanilla protein powder for chocolate protein, and add a tablespoon of cocoa powder to the batter. Sprinkle cacao nibs on top before chilling for an extra crunch. Chocolate lovers will find this irresistible.
Almond Joy Bars
Replace cashew butter with almond butter and add a handful of chopped almonds. The nutty flavor pairs beautifully with the coconut flakes, creating a dessert‑inspired snack.
Spiced Mango Bars
Add a pinch of ground ginger and a tablespoon of mango puree to the mix. The tropical fruit adds a sweet, slightly tart note that complements the coconut.
Low‑Sugar Version
Use a sugar‑free brown rice syrup substitute, like monk fruit sweetener, and reduce the vanilla extract to half a tablespoon. The bars still stay chewy but with a lower glycemic load.
Protein Power Pack
Boost the protein content by adding an extra scoop of protein powder. This makes the bars ideal for athletes needing a quick protein hit.
Storing and Bringing It Back to Life
Fridge Storage
Wrap the bars individually in parchment paper and place them in an airtight container. They’ll stay fresh for up to a week. When you’re ready to eat, let them sit at room temperature for a few minutes to soften.
Freezer Friendly
For longer storage, place the wrapped bars in a zip‑lock freezer bag. They’ll keep for up to three months. When you’re ready, thaw at room temperature for 10–15 minutes.
Best Reheating Method
To bring the bars back to that freshly baked texture, microwave on low power for 10 seconds. Alternatively, place them in a preheated oven at 300°F for 5 minutes. Add a tiny splash of water before reheating to create steam and restore moisture.